Consider yourself warned…this post is beefy…to match our beefy desk! I know…I got all (sarcastic) “original” up in the blog post title. But it was either that or “A Series Of Unflattering Pictures Of Colby Building A Desk”. Apparently I’m not overly creative these days. I blame the heat. Anyway…the other day we told you all about our plan to convert the empty guest bedroom into an Etsy office/work space. And we recently took the space from empty office:
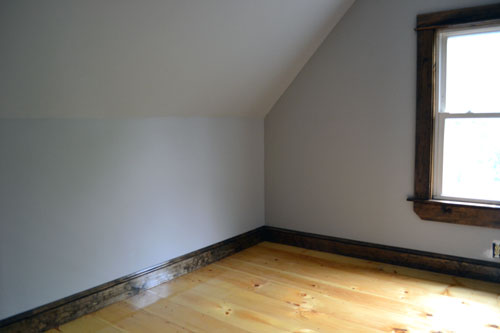
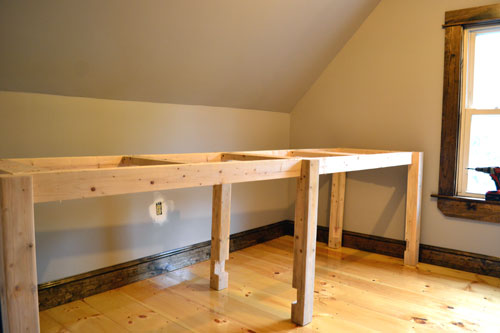
To office space with a beefy, unfinished desk:

So here’s the how-to build your own beefy desk blog post, starting with a cardboard, very rough sketch.
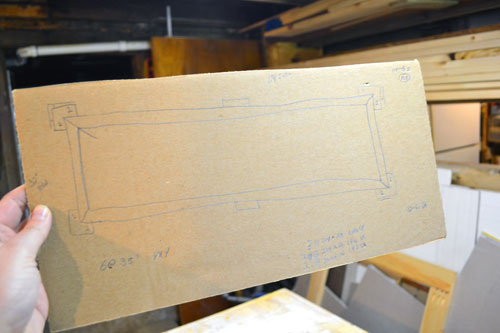
The sketch basically spelled out the general dimensions for the desk (9’6″ long by 32″ deep by 36″ tall), how many/where the desk legs would be, and the length/position of the support pieces. Our shopping list included (3) 8′ 4 x 4 spruce posts for the desk legs, (6) 10′ 1 x 6 spruce decking planks for the desk surface, (5) 10′ 2 x 4 pine for support pieces and the frame, and a box of 2-1/2″ star bit screws. Home with our supplies, it was time to get to work.
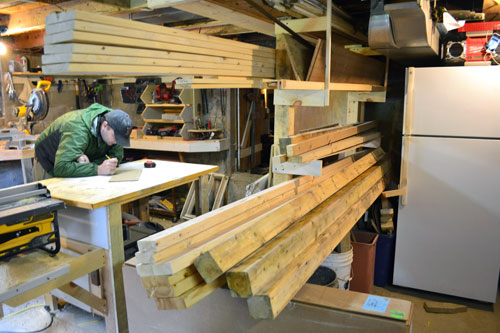
Since the desk was so large, we couldn’t build it in the basement workshop and bring it upstairs. It had to be built in pieces and assembled in place. If we ever move we’ll have to tear the desk apart to get it out of there. AND it’s probably coming out the window. So down in the basement we did three things: built a frame for the desk surface, pre-cut the support pieces and boards, and cut/notched the desk legs.
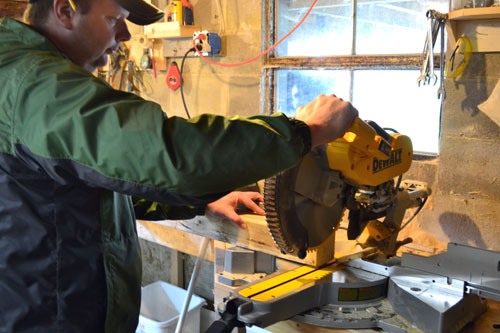
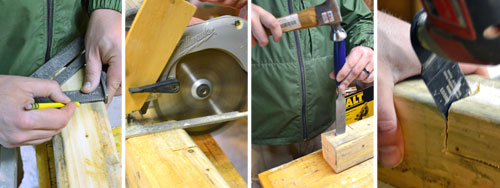
We started by working on the desk legs. Since we got 8′ 4 x 4 posts for the legs, they needed to be cut down to size (35″ tall). Since you should never trust the squareness of your boards from the lumber yard or big box store, always make your first cut a “squaring the end off” cut. Colby did this with a miter saw (our newest toy that we purchased to make Etsy shop projects easier).
With the six, 35″ 4 x 4 desk posts cut down to size, the next order of business was making the notches in each leg. There were two sets of notches that needed to be made. One set at the top of each post for the desk surface to nest into the post. And another set of notches near the bottom of the posts where the support boards would nest into. We had some difficulty in notching the posts. After measuring and marking the proper position for each notch using a square, we used a combination of a circular saw, chisel and multi-tool. Ignore “captain un-safety’s” messing with the safety gear in the circular saw pic. For shame!
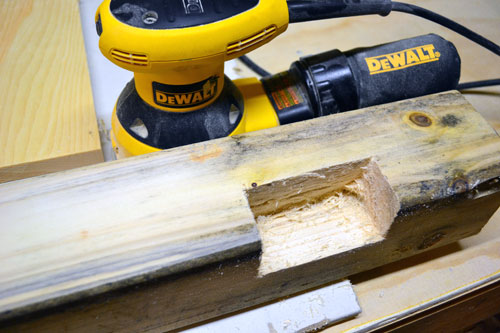
After the notches were cut, we gave each notch a light sand, along with sanding the post in its entirety. You see, we got a bit of a deal on the spruce posts for this project. They were originally alot more expensive but were quite damaged from sitting in too much rain/wind/snow/general elements. But it was nothing a little sanding job couldn’t fix. Since it was a rustic, I need a huge work surface kind of desk, the damaged wood fit the aesthetic and was cheaper too.
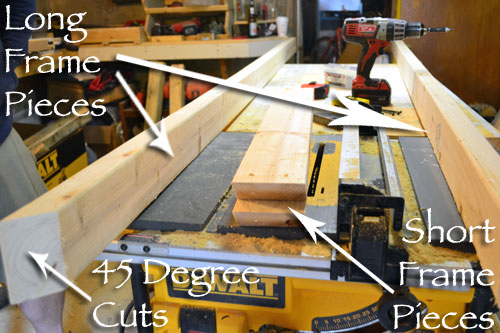
With the desk legs ready to go, the next step was frame assembly. Colby started by cutting down the 10′ 2 x 4 pieces into a frame for the 9’6″ x 32″ desk surface. The frame was essentially a large rectangle made out of two long 2 x 4 pieces, a couple short ones on each end, and a couple of mid section support pieces. The outside frame pieces involved 45 degree miter cuts before screwing the pieces together.
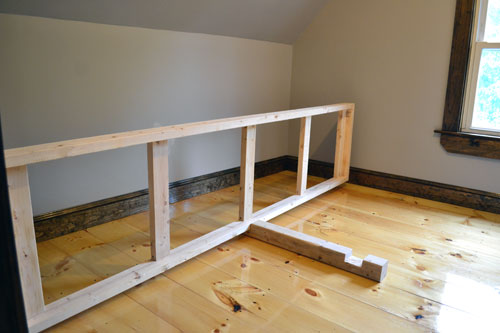
Here’ s the shot of the frame all assembled. Since most of the frame wouldn’t be visible one the desk top was added, it’s just screwed right together with a little wood glue and 2-1/2″ screws.
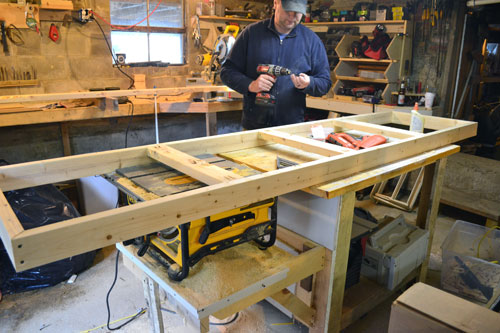
The mid section support pieces are actually screwed together using a Kregg Jig.
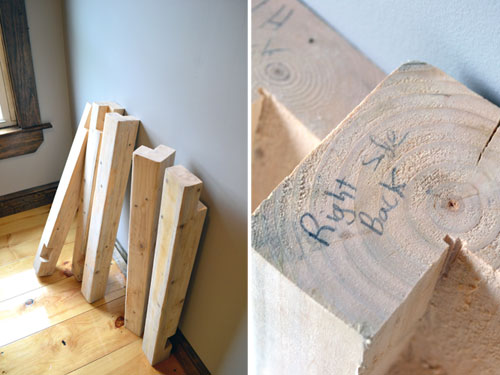
With everything cut up and prepped, we took our pieces upstairs and started to assemble the desk. While making cuts, Colby was smart and labeled each of the desk legs so we would easily know which piece goes where. Genius…genius I tell you!
We started assembling the beefy desk by laying it on its side, adding the desk legs to the frame one at a time.
And since the desk is a rustic work desk AND the likelihood of someone seeing the assembling screws was zilch, for ease of assembly’s sake, we screwed the desk legs right to the frame. Bam! It doesn’t get much easier than that.
With all six desk legs attached to the desk, we stood her right up in the space. This was the first “feel” that I got for how big the desk actually was and whether or not I made the right size choice. I was a little apprehensive about its scale in the room and whether or not the desk would overwhelm the small space. But the work surface area was the most important part of the desk, so I went with the “go big or go home” mindset and thankfully it worked. The desk seems to be the perfect size. It’s kind of the Goldilocks of desks…not too big, not too small, and juuuuust right!
With the desk in its upright position (with tray tables up and belongings stowed neatly under the seat) we started adding the planks to the frame.
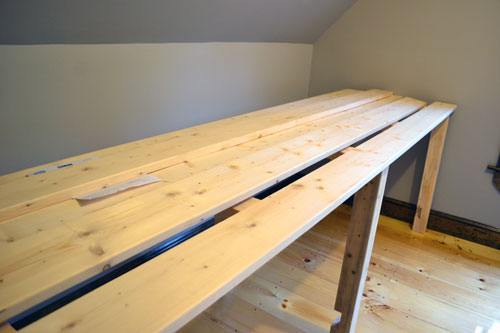
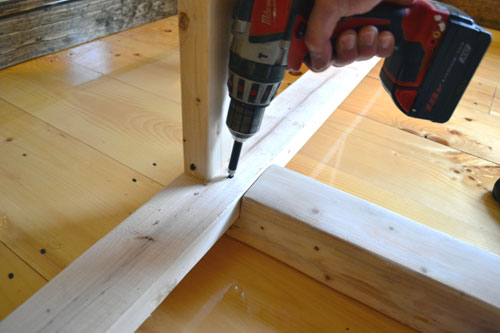
To keep the desk surface consistent with the desk legs, we used 10′ 1 x 6 spruce decking planks cut down to our 9’6″ desk length. Adding the decking to the frame was ridiculously easy once we got the first piece in place. The game plan was to screw each plank into the mid section pieces of the frame below it, with the screws going in from underneath the desk. However, the first piece had to be attached to the front, apron piece of the desk thanks to a significant overhang. To ensure the secureness and accurateness of the first plank, Colby started by drilling pilot holes into the frame where the plank would attach to it.
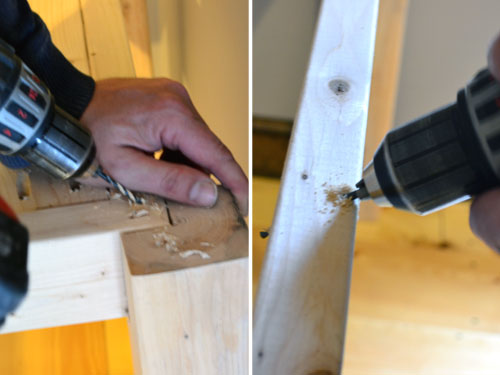
Then screwed the plank into the front of the frame at an angle and then into the mid section support pieces.
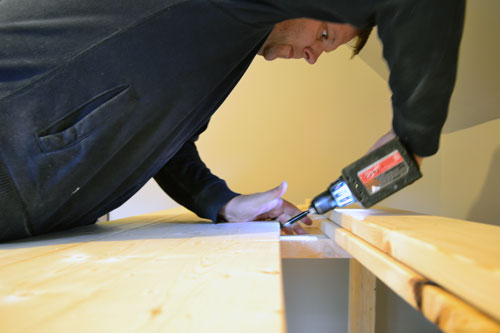
After it was secured to the front, he went along the underside of the desk and screwed through each support piece into the first plank. You can see here why we had to drive screws through the front of the apron…since there was so much overhang on the first piece. Just screwing through the bottom support piece into the plank wouldn’t have held the first plank quite as securely as it would with the other planks, which we could drive two screws into each plank.
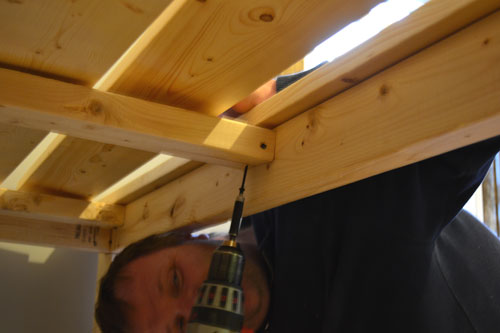
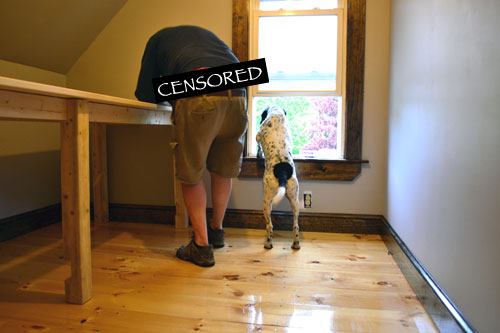
Then we just kept adding planks, one at a time. We had quite the system going on. Colby would add each plank and pull it tight to the plank in front of it while I would screw the plank into the frame while sitting cozily underneath the desk. I felt like George Kastanza hanging out under there. PLENTY of napping room under this desk! Oh…and Goose helped. Mind the gap.
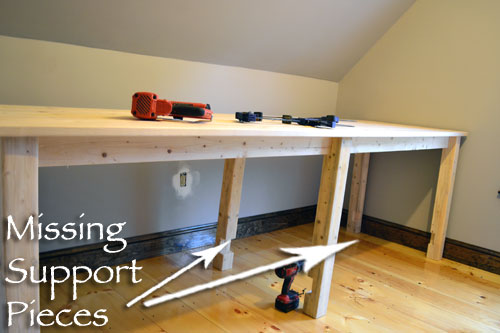
So proud of my boys! With the desk planks properly secured, the next and final assembly step was adding the pre-cut support pieces.
The first piece was for the middle of the desk, to span the section between the middle two legs. To do this, Colby made a modified beam by screwing 2 x 4 bits together and screwed the beam right into the desk legs. Fancy, no?!
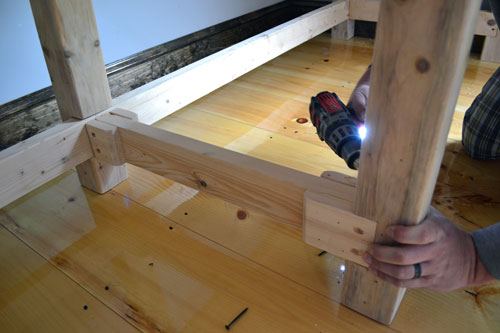
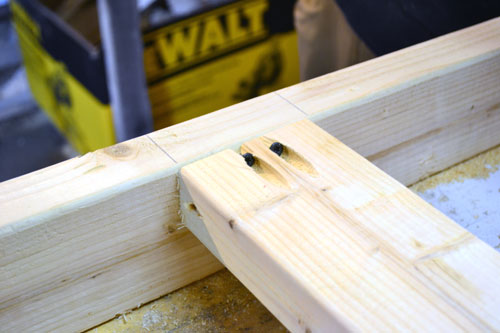
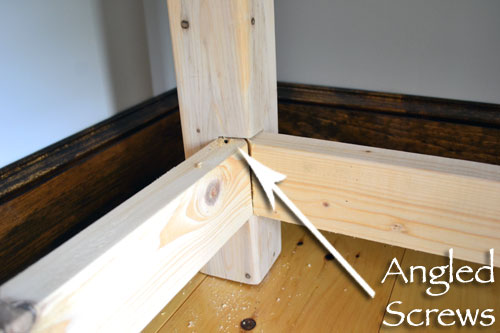
The other support pieces, also made out of lengths of 2 x 4, were pre-cut and screwed into the desk leg notches. Where the two support pieces joined at the corners, Colby made a couple of 45 degree miter cuts and screwed these pieces into the desk leg at an angle from the top of the support piece.
And with that, folks, I have a desk!
But it is KILLING me not being able to use it yet. You see, Colby advised me not to finish the desk right away. And by finish it I mean stain and poly it. Because the wood we bought was a bit wet, it needed a decent amount of dry out time before I could stain/poly. I’m hoping I can stain it sometime this week, poly it the coming weekend (is it sad that it’s Sunday night and I’m already counting down the days until the next weekend?!), and start REALLY using it next week! Although, I have been using the desk to box up orders and it is a dream! I can’t wait to share the finished product with you next week!
Pssst…So what were you all up to this weekend?! It was a scorcher here in Maine so naturally Colby and I spent it in the cool, basement working on projects. Such woodworking geeks!

That’s awesome! I would love to have some sort of basement setup! Can’t wait to see the desk finished and styled.
Oooh…desk styling…now you’ve got me excited about desk styling! So many options!
PLANS!!??